DIY Built In Bookcases – How I Created My Own Library.
I’ve always loved to read. And I’ve never had a place to house all of my books.
I’ve always dreamed of having built-in bookcases and a lovely window seat where I could read while looking out at the ocean.
Okay, so I don’t have the window seat or the ocean…yet.
But when we moved into our house I knew immediately that our den was the perfect spot for my built-in bookcases.
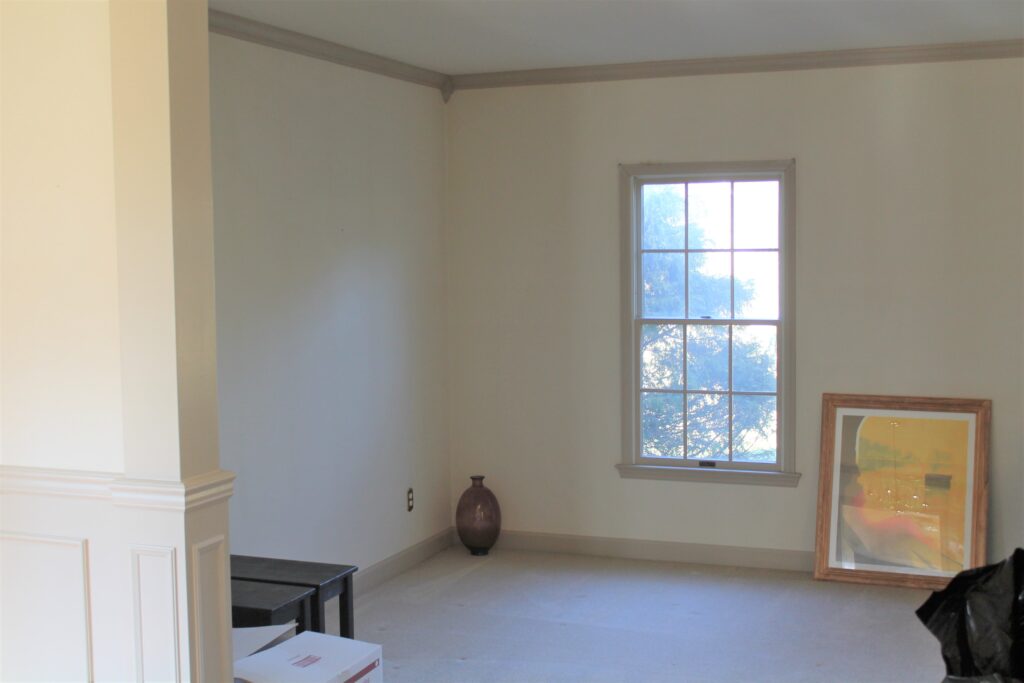
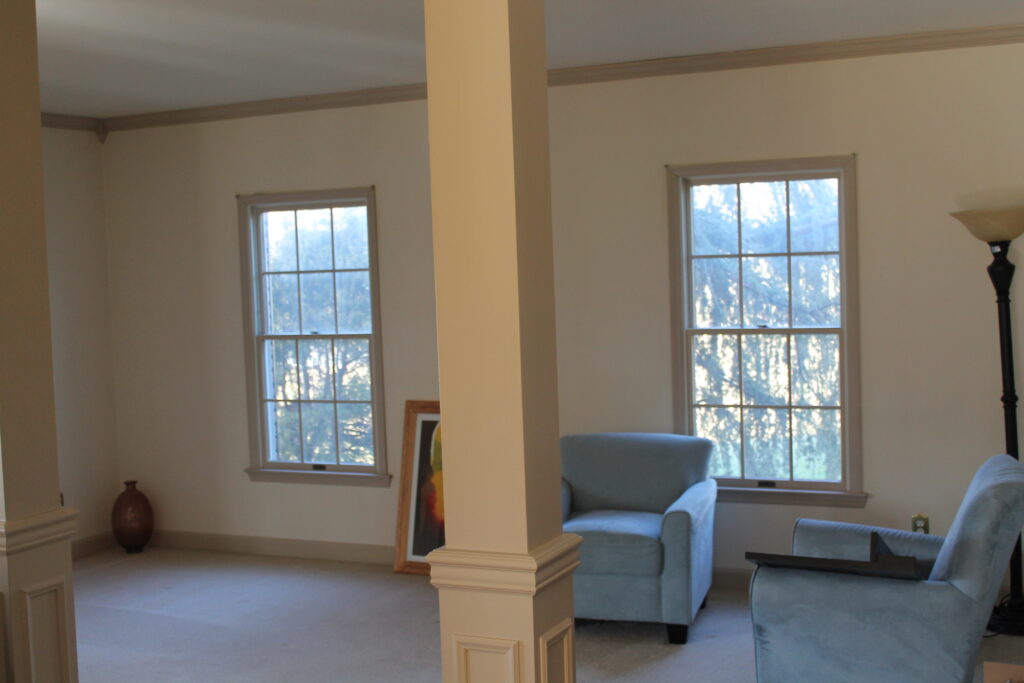
Here’s the BEFORE. The book shelves were installed on the left side of these pictures. (These were the only before pictures we had. Not the best view.)
The only problem with this genius project was that I’m not a carpenter and neither is my husband.
We also didn’t want to spend thousands of dollars on custom bookshelves when we had just bought a new house.
But I REALLY wanted them and I knew they’d look FANTASTIC in this space.
So, you know what happens when you really want something lovely for you home but you can’t afford it?
You got it – go to IKEA. That’s exactly what we did. We found some basic white Billy Bookcases from IKEA.
Here’s the AFTER.
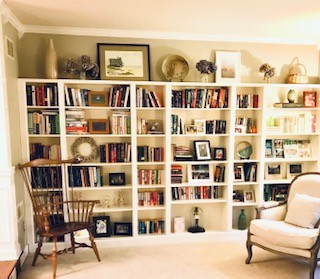
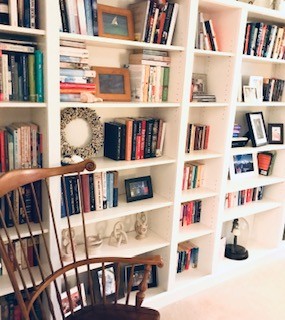
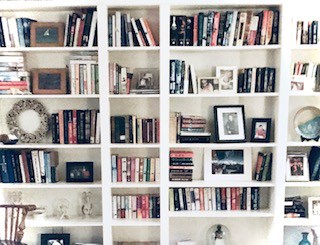
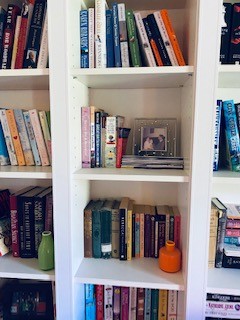
Here are a couple shots of the shelves after I arranged the books by color and removed the “clutter”. I think I kind of like the eclectic look a little better.
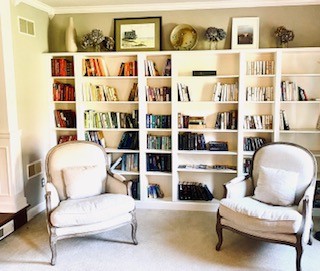
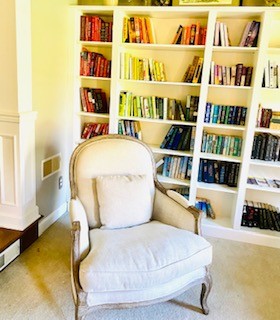
For our home’s project we purchased the following combination of bookcases:
3 – Bookcases, white, 31 1/2x11x93 1/4 ” – $84
3- Bookcases, white, 15 3/4x11x93 1/4 ” – $69
What’s really cool about this line from IKEA is that they come in so many combinations, it’s easy to find something that works for your space.
You’re probably thinking – thanks for the tip but I know that IKEA sells bookcases. I’m getting to the GOOD part – hang in there.
So, IKEA bookcases are nice, but they definitely weren’t going to give us that built-in look that we were going for without some help.
With some simple trim from the local hardware store, you can easily make these IKEA bookcases look like built-in custom shelves.
This project is not difficult and the most time-consuming part is likely putting together your IKEA bookcases (be patient – it’s worth it).
At least that’s what handyman told me…aka…husband.
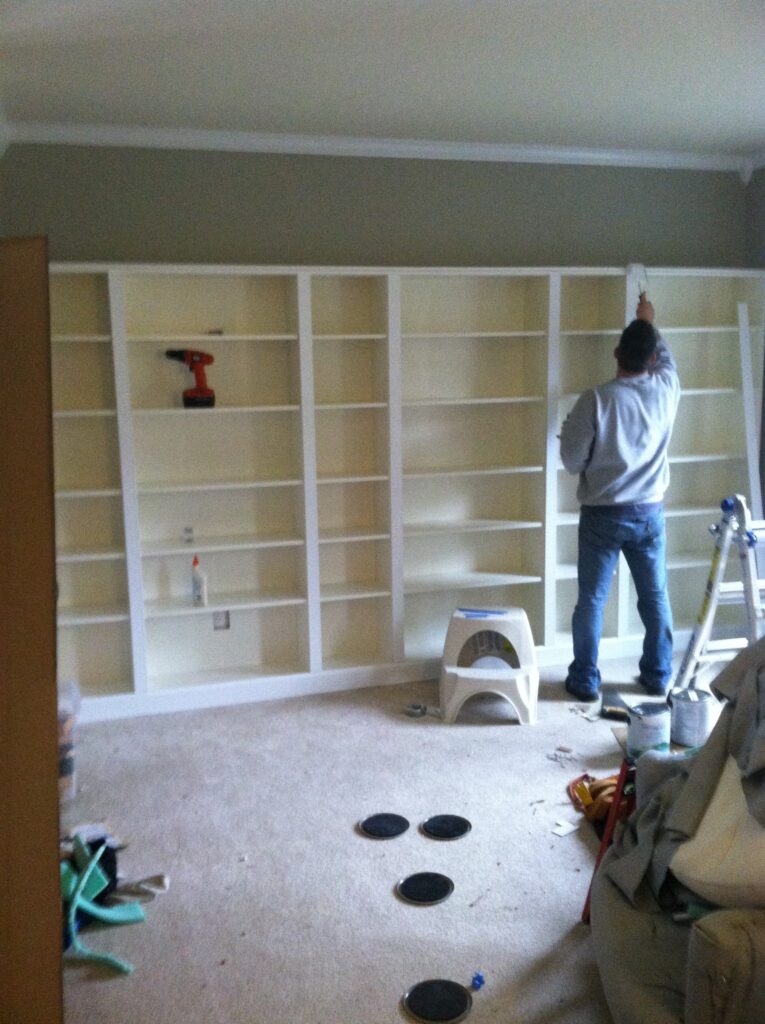
SUPPLIES
- Ikea Book Shelves Mentioned Above
- All trim was purchased prefinished white.
- The number of trim pieces will depend on how large your area is and how many shelves you have. Measure twice, cut once.
- Baseboard Trim (for bottom trim)
- Cove Molding or decorative trim molding (top trim)
- Middle Trim (flat molding)
- Wood Glue
- 1 inch Finishing Nails
- White Semi Gloss Paint
INTRUCTIONS
Step 1 – Put together Ikea Book Shelves. This is by far the most complicated and time consuming part of the project.
Step 2 – Arrange shelves evenly along the wall. Any slight gaps can be covered with your trim.
Step 3 – Attach the shelves to the wall with the included safety hardware from IKEA.
Step 4 – Attach the Middle Trim to cover the gaps between shelves using wood glue and finishing nails.
Step 5 – Attach the Baseboard Trim to the Bottom of the shelves so it’s level with the floor.
Step 6 – Attach the Cove Molding to the top of the shelves. Depending on your ceiling and shelf height this may or may not be even with your ceiling. Ours does not reach the ceiling, but if yours does you can trim with crown molding.
Step 7 – Paint your trim if desired, We skipped this part and just touched up with white paint to cover nail holes and any spots that may have needed it.
Step 8 – This is the fun part! Add your books and fun decor.
A couple more close up shots of the shelves.
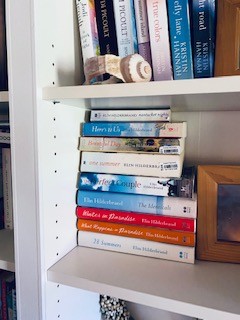
That’s it! Happy reading!
XO Erin

